
Soothing the Sting: The Safest Eye Drops for Irritation and Redness
When Your Eyes Are Telling You Something? Your eyes are remarkably good communicators. When something is wrong, they let you know immediately and unmistakably. The burning sensation after three hours in front of a screen. The gritty, sandy feeling after a day in a dusty environment. The itching and redness that arrives with allergy season. The sharp sting when air conditioning has been running all day and stripped every trace of moisture from the room. These are not random discomforts. They are specific signals from your ocular surface that something in its environment is causing stress – and often, reaching for the right eye drops is the fastest way to restore comfort and balance. Eye irritation is at an all-time high, driven by a modern lifestyle our eyes weren’t built for. Relentless screen time, declining air quality, dry AC environments, and rising allergy rates mean our eyes are constantly under stress. When discomfort hits, most people make one of two mistakes: they rub their eyes, or they blindly reach for a redness-relief drop. The Hidden Trap of Quick-Fix Eye Drops That is where things get complicated. Most over-the-counter redness relief drops rely on vasoconstrictors—compounds that temporarily clear up the eye by physically narrowing the blood vessels. While this masks the redness quickly, it does absolutely nothing to treat the underlying irritation. Even worse, repeated use triggers a vicious cycle known as rebound redness. As the drops wear off, the blood vessels dilate even wider than before, making your eyes look more bloodshot than they did initially. This tricks you into using the drops more frequently, building a dependency that can take weeks to safely break. The Science of Soothing: What Actually Happens When You Use the Right Drop To understand why lubricating eye drops work so much better for genuine irritation relief than vasoconstrictor-based products, it helps to understand what is actually happening on the surface of your eye when irritation occurs. The Tear Film and What Happens When It Breaks Down The surface of your eye is protected by the tear film, a three-layer structure that is both more complex and more important than most people appreciate. The innermost layer is the mucin layer, produced by goblet cells in the conjunctiva, which helps the tear film adhere to the corneal surface. The middle layer is the aqueous layer, the watery component that provides volume, delivers nutrients to the cornea, and washes away debris. The outermost layer is the lipid layer, produced by the meibomian glands in the eyelids, which slows evaporation and keeps the aqueous layer stable. When any of these layers is disrupted, inadequate, or unstable, the tear film breaks down too quickly between blinks. The corneal surface is exposed to air and environmental irritants. Nerve endings in the cornea register this exposure and signal discomfort. The eye responds with inflammation, which dilates blood vessels and causes redness. The inflammatory response also disrupts tear film production further, creating a cycle where irritation perpetuates more irritation. This is why rubbing your eyes feels temporarily satisfying but makes things worse. Rubbing physically stimulates the release of histamine from mast cells in the conjunctiva, intensifying the allergic and inflammatory response. It also increases the risk of introducing bacteria and physical debris from your hands into an already compromised ocular surface. How Lubricating Eye Drops Create a Protective Barrier? A quality lubricating eye drop for irritation works by supplementing and stabilising the tear film rather than overriding one of its symptoms. When you apply a drop formulated with hyaluronic acid, carbomer, carboxymethylcellulose, or a combination of these lubricating polymers, the solution spreads across the corneal surface and creates a coating that mimics the aqueous layer of the tear film. This coating does several things simultaneously. It rehydrates the corneal epithelial cells that were exposed and stressed by tear film breakdown. Further, It dilutes and washes away surface irritants including allergens, pollutants, and debris. It creates a physical barrier between the corneal surface and the air, reducing further evaporation. And it reduces the friction between the cornea and the inner surface of the eyelid during blinking, which is a significant source of discomfort in dry, irritated eyes. The relief from a quality lubricating eye drop is therefore not cosmetic. It is physiological. The drop is actually improving the condition of the ocular surface, not just changing how it looks. The redness fades not because blood vessels have been artificially constricted but because the inflammatory stimulus, the exposed and stressed corneal surface, has been addressed. Why Flushing Is Better Than Rubbing? When a foreign particle, a speck of dust, a piece of grit, or an allergen lands on the surface of your eye, the instinctive response is to rub. Resist it. Rubbing does not remove particles effectively and it can drive them into the corneal surface or the underside of the eyelid where they cause significantly more damage and irritation. In the case of a particle sharp enough to scratch the cornea, rubbing can turn a minor surface contact into a genuine corneal abrasion. Flushing with a lubricating eye drop is far more effective and far safer. The volume of fluid introduced by the drop creates a washing action that carries surface particles away from the cornea and toward the inner corner of the eye, where they drain naturally through the nasolacrimal duct. The lubricating components in the drop simultaneously soothe the surface that was irritated by the particle’s contact. You address the immediate problem and the resulting discomfort in one step. For environments where particulate exposure is common, construction sites, workshops, dusty outdoor settings, polluted urban air, keeping a bottle of eye drops for irritation accessible is practical first-aid preparation rather than an afterthought. Step-by-Step Application for Maximum Relief How you apply eye drops matters as much as which drops you use. Incorrect application wastes product, reduces effectiveness, and in some cases introduces new problems. These four steps represent the correct technique for getting the most from every application. Step 1: Wash
Best Eye Drops for Dry Eyes: A Buyer’s Guide
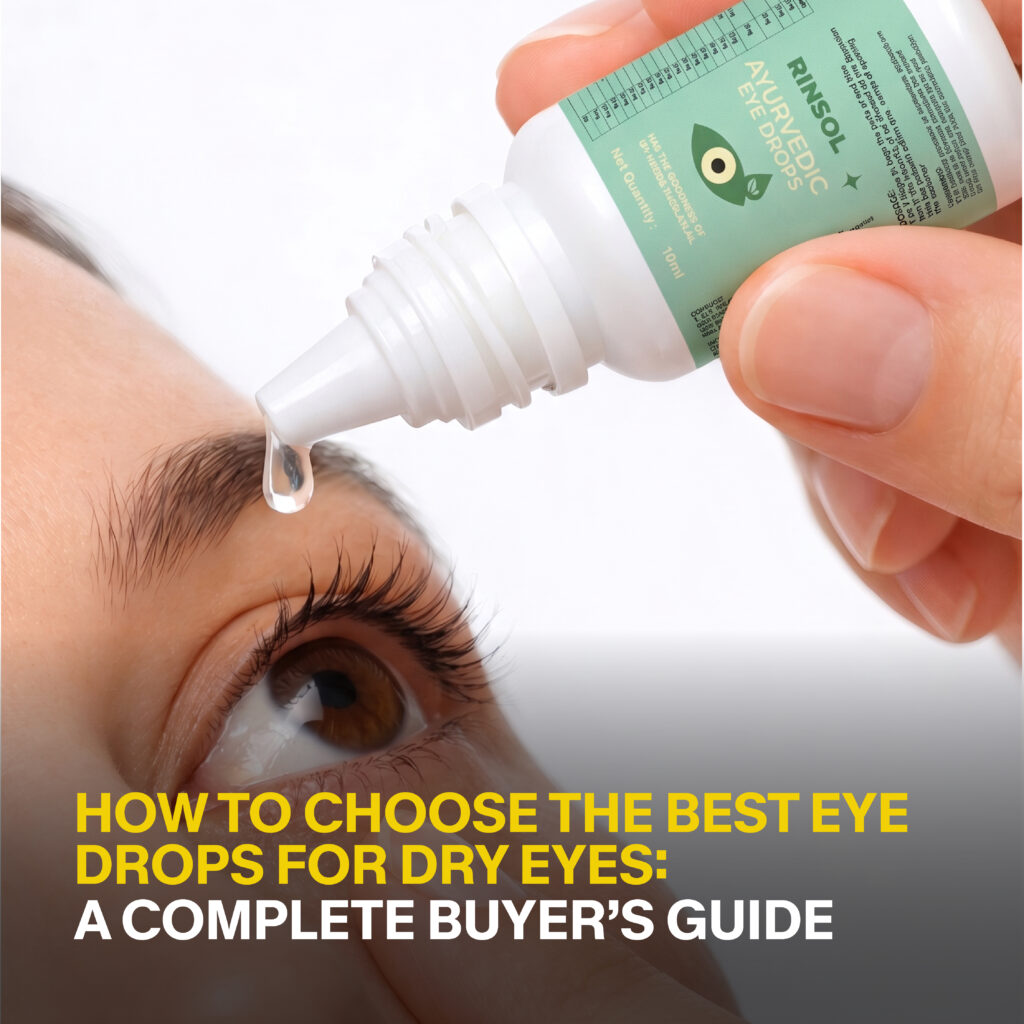
When Your Eyes Feel Like Sandpaper Most people have experienced dry eyes at some point. You have been staring at a screen for three hours straight, or you have been sitting in an air-conditioned room all afternoon, or you woke up on a particularly dry winter morning and your eyes felt scratchy and uncomfortable from the moment you opened them. You blink a few times, maybe splash some water on your face, and within a few minutes things feel more or less normal again. That is occasional dryness. It is common, it is temporary, and it usually resolves on its own once the trigger goes away. Chronic dry eye is an entirely different experience. It is not a passing irritation that clears up after a few blinks. It is a persistent condition where the eyes are unable to maintain an adequate tear film, either because they do not produce enough tears, because the tears they produce evaporate too quickly, or because the composition of the tears is abnormal. People with chronic dry eye experience symptoms throughout the day regardless of what they are doing. Burning, stinging, grittiness, a feeling like something is in the eye that will not come out, sensitivity to light, blurred vision that fluctuates, and paradoxically in some cases, excessive watering as the eye attempts to compensate for the dryness by overproducing reflex tears. The stinging and burning sensation that comes with dry eyes has a specific cause. The surface of the eye, the cornea and conjunctiva, is covered in a layer of cells that depend on the tear film for hydration, nutrition, and protection. When the tear film is inadequate, these cells are exposed to the air and to environmental irritants in a way they are not designed to handle. Nerve endings in the corneal surface register this exposure as pain, which is what creates the stinging sensation. It is not imagined discomfort. It is a genuine physiological signal that the ocular surface is under stress. And here is why simply splashing water on your face or rinsing your eyes with tap water does not solve the problem. Tears are not water. They are a complex, precisely balanced fluid containing water, oils, proteins, electrolytes, antibodies, and growth factors. Each component serves a specific function in maintaining the health and comfort of the ocular surface. Plain water has none of these components. It rinses the eye briefly and provides momentary relief, but it also washes away whatever remaining natural tear film was present and does nothing to replace the components that were missing in the first place. Within minutes of a water rinse, the symptoms return, often more intensely than before. What the eye actually needs when it cannot maintain its own tear film adequately is a supplement that mimics the composition and properties of natural tears as closely as possible. That is what a quality lubricating eye drop is designed to provide. Types of Lubricating Eye Drops: Understanding Your Options The category of eye drops for dry eyes is broader and more varied than most people realise. Walking into a pharmacy and seeing an entire shelf of options with different names, different viscosities, and different claims can be genuinely confusing. The distinctions between them are real and they matter for how well a product works for your specific situation. Preservative-Free Eye Drops: The Gold Standard for Regular Use Many eye drop formulations contain preservatives. These are chemical compounds added to the bottle to prevent bacterial contamination of the solution once the bottle has been opened. This makes practical sense for a product that will be opened and reclosed multiple times, and for occasional users the preservative levels in standard formulations pose no meaningful problem. For people who use eye drops frequently throughout the day, however, preservatives become a concern. The most common preservative in eye drop formulations is benzalkonium chloride, often abbreviated as BAK. BAK is effective at preventing contamination, but it is also cytotoxic to the cells on the ocular surface at the concentrations used in many standard formulations. For someone using drops two or three times a day occasionally, this is not significant. For someone using drops six, eight, or ten times a day to manage chronic dry eye, the cumulative exposure to BAK adds up and can cause or worsen the very surface inflammation they are trying to relieve. Preservative-free eye drops come in single-use vials, each containing enough solution for one application. The vial is opened, used, and discarded. Because there is no need to prevent contamination of a multi-use container, no preservative is required. The solution that reaches your eye is as clean and gentle as possible, containing only the therapeutic components without any additional chemical burden on the ocular surface. For anyone using eye drops for dry eyes more than three or four times daily, or for anyone with sensitive eyes, a history of allergies, or known reactions to preservatives, preservative-free formulations are strongly recommended. They are also the only appropriate choice for use with contact lenses, which we will address shortly. Preservative-Based Eye Drops: Practical for Occasional Use Preserved formulations in multi-dose bottles remain a practical and appropriate choice for people who experience occasional dryness rather than chronic symptoms. If you are reaching for eye drops once or twice a day on days when specific triggers, screen use, dry environments, extended reading, are affecting your comfort, a preserved formulation is perfectly adequate and considerably more economical than single-use vials. The convenience factor is real. A small multi-dose bottle fits in a bag or pocket and is ready to use without the step of opening a fresh vial each time. For someone managing mild, situational dryness, this convenience comes at no meaningful cost to eye health. The key principle is frequency. If your use is low and occasional, preserved drops are fine. If your use is high and consistent, move to preservative-free. Gels and Gel Drops: When You Need Something That Stays Standard lubricating eye drops have an aqueous,
Winter and Workplace Vision: Why Anti-Fog Lens Cleaner Is a Must-Have
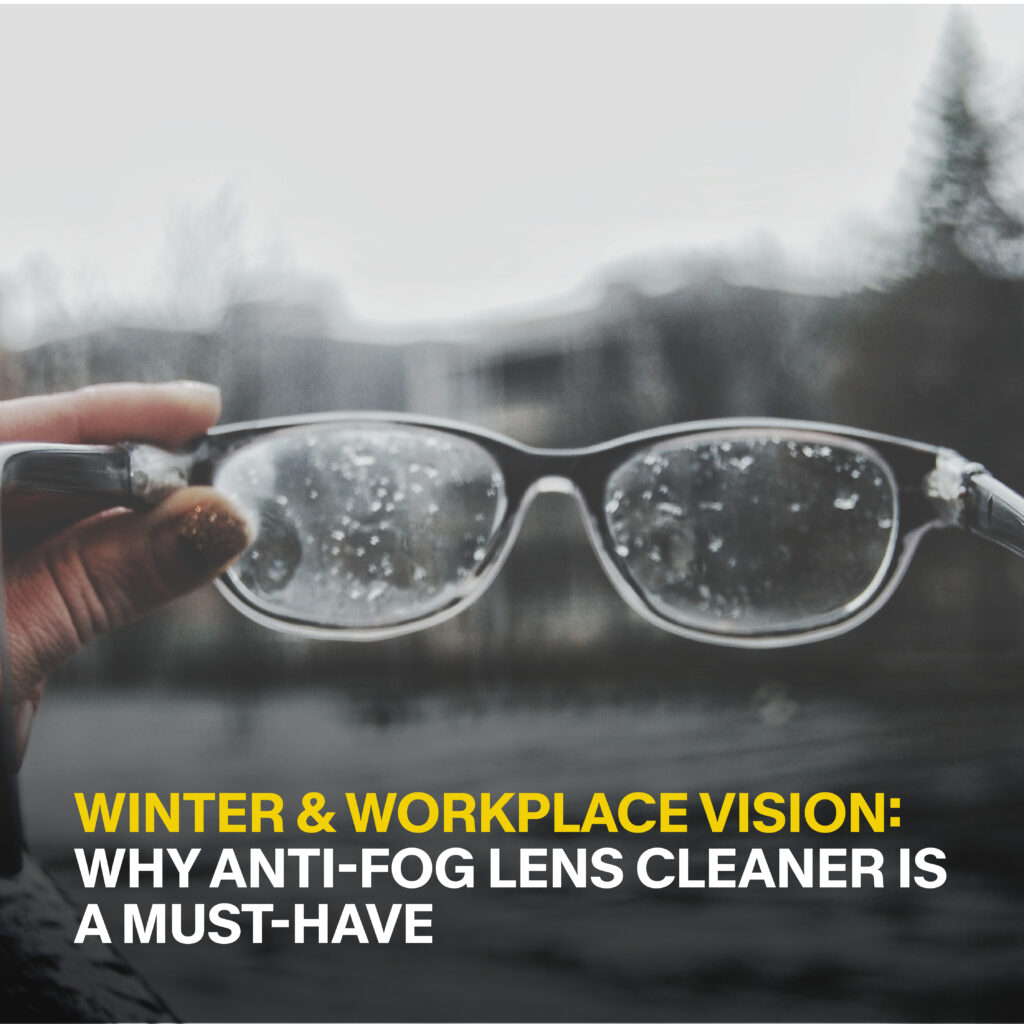
The Moment Your World Goes White It is 7am on a December morning. You have just walked from the parking lot into the office building, your coffee in one hand and your laptop bag over your shoulder. The moment you step through the automatic doors into the heated lobby, your glasses go completely white. You are standing in the middle of a busy entrance, effectively blind, waiting for the fog to clear while people walk around you. Or you are a chef in a commercial kitchen, moving between the cold storage room and the hot line. Every single transition fogs your glasses for ten to fifteen seconds. Over a six-hour shift, that adds up to minutes of lost vision and dozens of frustrating wipe-downs with whatever cloth or apron is closest. Or you are a lab technician, a construction worker, a warehouse operative, a delivery driver, a nurse. Your job requires you to move between different temperature zones repeatedly throughout the day. Your safety glasses or prescription eyewear fog up at every transition. You wipe them, they clear, you move again, they fog again. It is an endless cycle that interrupts your concentration, slows your work, and in environments where visibility is a safety requirement, creates genuine risk. Fogging happens because of basic physics. When a cold lens surface meets warm, humid air, the water vapour in that air condenses onto the lens as tiny droplets. Those droplets scatter light and destroy your vision in an instant. The colder your lenses are coming in from outside and the warmer and more humid the interior environment, the faster and more completely they fog. In winter, this temperature differential is at its most extreme, which is why fogging is so much worse in cold months than at any other time of year. The traditional response to fogging has always been reactive. You fog up, you stop, you wipe, you carry on. But for professionals who rely on clear vision to do their jobs safely and efficiently, reactive is not good enough. A chef who cannot see clearly for fifteen seconds while handling a sharp knife or a hot pan does not have fifteen seconds to spare. A construction worker on a ladder or a scaffold needs uninterrupted vision. A lab technician working with precision instruments or hazardous materials cannot afford to be suddenly sightless at a critical moment. This is precisely where a dedicated anti-fog lens cleaner moves from being a convenience to being a professional necessity. The Benefits of a Dual-Action Cleaner For most of the history of eyewear care, people have maintained two separate habits. Cleaning and defogging. You clean your lenses with your eyeglass cleaning spray to remove smudges and fingerprints. And then separately, if you remembered and had the right product, you applied an anti-fog treatment to prevent condensation. Two steps, two products, two separate parts of your routine. A modern anti-fog lens cleaner collapses this into one step and it does both jobs simultaneously better than either product does alone. Replacing Your Standard Eyeglass Cleaning Spray A quality anti-fog lens cleaner contains the same core cleaning chemistry as a dedicated eyeglass cleaning spray. Mild, non-ionic surfactants that lift oils, fingerprints, and environmental residue off the lens surface. pH-balanced formula that is safe for all optical coating types including anti-reflective, blue-cut, UV, and scratch-resistant layers. Purified water base that evaporates cleanly without leaving mineral deposits. This means you do not need to maintain two separate products or two separate steps. Your anti-fog lens cleaner handles the cleaning component completely. The lenses come out smudge-free and streak-free, exactly as they would after using a standard eyeglass cleaning spray. You are not compromising on cleaning performance to get anti-fog functionality. You are getting both at the same level of quality. Adding the Anti-Fog Layer On top of the cleaning function, the anti-fog component of the formula deposits a hydrophilic treatment onto the lens surface as it cleans. This is the layer that prevents fogging. Rather than allowing water vapor to bead into the light-scattering droplets that cause fog, the hydrophilic treatment causes incoming moisture to spread into a thin, optically transparent film. You still have moisture on your lens, but it is spread so evenly that it does not interrupt your vision. The result is a lens that is both clean and fog-resistant after a single application that takes under two minutes. For a professional who is already time-pressed in the morning, the efficiency of this dual-action approach is significant. One product, one quick routine, and your vision is protected against both the gradual buildup of daily grime and the sudden onset of fogging every time you step through a door or move between working environments. Smudge-Free and Fog-Free Together There is a subtler benefit to the dual-action approach that is worth understanding. A lens that is clean before the anti-fog treatment is applied holds that treatment more effectively and for longer. This is because the hydrophilic compounds in the anti-fog formula bond directly to the lens surface. If there is a layer of oil, fingerprints, or residue on the surface when the anti-fog treatment is applied, it bonds to that layer instead of the lens, and it wears off much faster. When your cleaner and your anti-fog treatment are the same product, applied in the same motion, the cleaning step and the bonding step happen together in the correct sequence every single time. The lens is cleaned and the anti-fog layer is deposited onto a clean surface simultaneously. This is actually more effective than cleaning first with one product and then applying a separate anti-fog treatment, because there is no gap between the cleaning and the coating steps during which you might inadvertently touch the lens and redeposit oils before the anti-fog treatment is applied. The Rinsol Anti-Fog Spray from Gaymed Labs is built on exactly this dual-action principle. Formulated to clean as thoroughly as a dedicated eyeglass cleaning spray while simultaneously depositing a coating-safe hydrophilic layer, it
The Truth About Multipurpose Cleaning Sprays for Optics
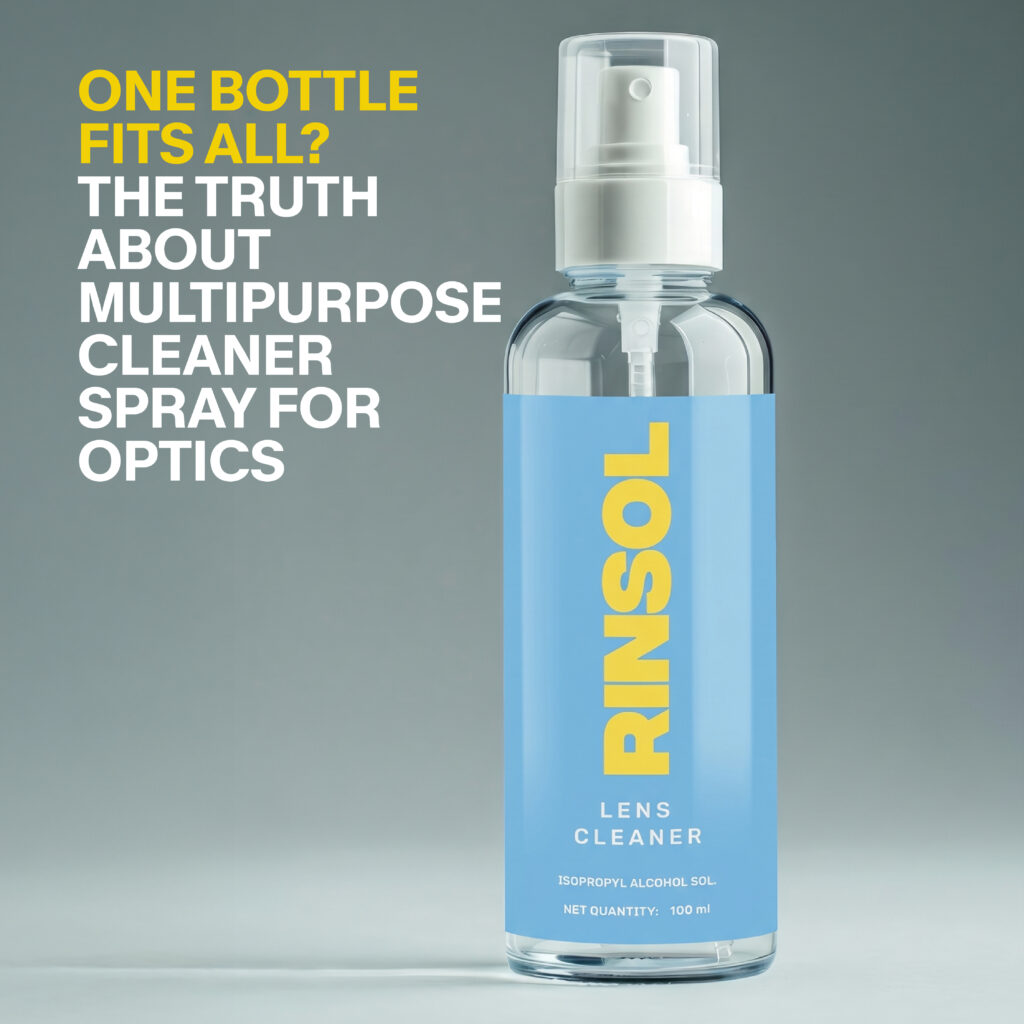
The Appeal of One Bottle That Does Everything There is a certain kind of satisfaction in simplification. One remote that controls everything. One bag that works for every occasion. One cleaning spray that handles every surface in your home. The multipurpose cleaner spray sits in most households as a symbol of that convenience, positioned on the kitchen counter or under the bathroom sink, ready for whatever needs wiping down next. And why not? Modern multipurpose sprays are genuinely impressive products. They cut through kitchen grease, sanitise bathroom surfaces, clean glass tabletops, and wipe down appliances. One bottle, dozens of uses. For a busy household that does not want a different product for every surface, the appeal is completely understandable. One Bottle & Pair of Prescription Glasses The problem starts when that same bottle gets pointed at a pair of prescription glasses. It happens more often than you might think. The glasses are smudged, the dedicated eyeglass cleaning spray is in another room, and the multipurpose spray is right there on the counter. It takes two seconds. The lenses look cleaner afterward. No immediate visible damage. So the habit forms, and it repeats, and every repetition chips away at something you cannot see but absolutely depend on. We are talking about the coatings on your prescription lenses. Anti-reflective coatings. UV protection layers. Blue-light filters. Hydrophobic treatments. These coatings represent a significant portion of what you paid for when you bought those glasses, and some of them are extraordinarily sensitive to the chemistry of products that were never formulated with optics in mind. The question this blog is going to answer is not whether multipurpose cleaner spray cleans. It clearly does. The question is whether it cleans safely when used on precision optical surfaces, and whether the convenience is worth the risk to lenses that cost hundreds of dollars to replace. The answer is more nuanced than a simple yes or no, and understanding where the line falls is genuinely useful for anyone who wears glasses. What Makes a Cleaner Multipurpose? To understand why multipurpose sprays can be problematic on optical lenses, you need to understand what makes them effective on everything else. And that comes down to chemistry. The pH Question Every cleaning product has a pH value, a measure of how acidic or alkaline it is on a scale from zero to fourteen. Pure water sits at seven, which is neutral. Products below seven are acidic. Products above seven are alkaline. Most cleaning products fall somewhere between five and ten, depending on what they are designed to clean. Multipurpose cleaner sprays are typically mildly to moderately alkaline, sitting somewhere between eight and ten on the pH scale. This alkalinity is what makes them effective at cutting through the organic compounds in grease, food residue, and body oils. Alkaline solutions break down these substances at a chemical level, which is why they clean so well on kitchen surfaces, bathroom tiles, and glass tabletops. The problem is that most optical lens coatings are sensitive to alkaline exposure. Anti-reflective coatings in particular are vulnerable to pH values outside a narrow neutral range. Repeated exposure to even mildly alkaline cleaning agents causes microscopic degradation of the coating structure. The bonds that hold the coating to the lens surface weaken. The optical properties of the coating gradually deteriorate. And in some cases, repeated alkaline exposure triggers crazing, the network of fine micro-cracks that appears across the coating surface and permanently destroys the clarity of the lens. A proper eyeglass cleaning spray is formulated within the pH range that is safe for all optical coating types, typically between six and eight. That narrow window is not arbitrary. It reflects decades of research into the chemical tolerance of the materials used in prescription lens manufacturing. It is the difference between a product that cleans your lenses and a product that cleans and preserves them simultaneously. Surfactants: Not All of Them Are Lens-Safe Beyond pH, the surfactants in a cleaning product matter enormously for optical applications. Surfactants are the compounds that do the actual work of lifting oils and debris off surfaces. They reduce surface tension, allowing water to spread more evenly and carry contaminants away. Multipurpose cleaner sprays use surfactants optimised for hard, non-coated surfaces. These tend to be more aggressive, more chemically reactive, and more likely to leave residue on precision optical surfaces. Some of them interact with the hydrophobic coatings on modern lenses, stripping the layer that repels water and oils and making the lens surface more likely to attract and hold fingerprints after cleaning rather than less. A dedicated eyeglass cleaning spray uses mild, non-ionic surfactants that are specifically selected because they clean effectively without reacting with optical coatings. The distinction matters in practice. After cleaning with the right product, your lenses should repel fingerprints more easily. After repeated cleaning with the wrong product, they should not and they will not. Solvents and Active Compounds Many multipurpose cleaner sprays contain additional active compounds beyond surfactants and pH adjusters. Alcohol at high concentrations. Ammonia. Bleach derivatives. Fragrance compounds. These are included to boost cleaning power, extend shelf life, and add antibacterial properties. On the surfaces these products are designed for, they work excellently. On prescription lenses, several of these compounds are genuinely damaging. Ammonia degrades anti-reflective coatings with repeated exposure. High-concentration alcohol strips hydrophobic layers. Some fragrance compounds leave an oily residue that is particularly difficult to remove from lens surfaces. Bleach derivatives are among the most aggressive substances you can expose a coated lens to. This is true even for products marketed as all-natural or plant-based. Natural does not mean lens-safe. Citrus-derived solvents, which appear in many all-natural multipurpose sprays, can be just as aggressive toward optical coatings as their synthetic counterparts. Vinegar, often recommended in natural cleaning circles, is acidic enough to interact with lens coatings at the other end of the pH spectrum. The relevant question is not whether an ingredient is natural or synthetic. It is whether it falls within
No More Fog: The Ultimate Guide to Anti-Fog Spray for Glasses
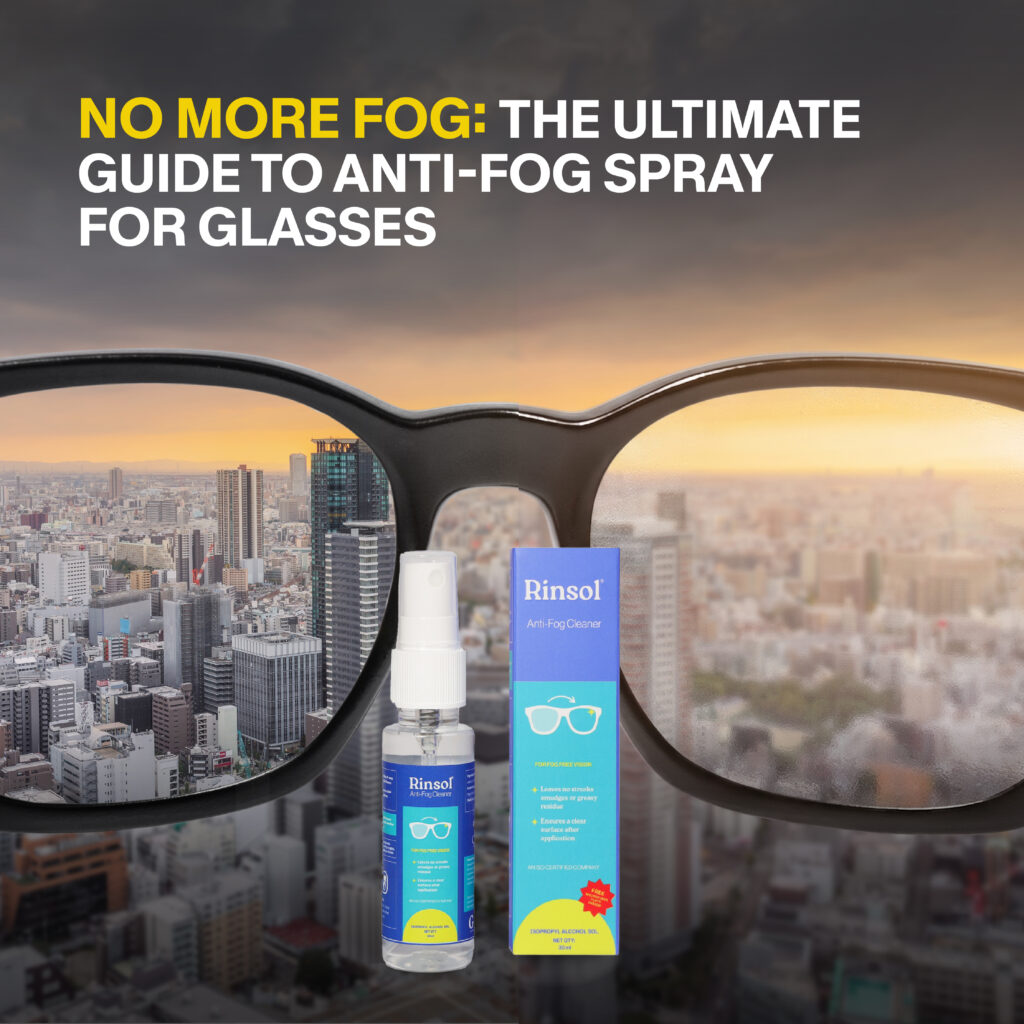
That Moment When the World Disappears You step out of an air-conditioned car into the warm, humid air outside. Or you walk into a steamy kitchen from a cool room. Or you pull your mask up over your nose on a winter morning. And within seconds, your glasses go completely white. Not just slightly hazy. Completely opaque. You are standing still, squinting through a sheet of condensation, waiting for it to clear while the world around you carries on without you. Most glasses wearers treat fogging as a minor inconvenience. An annoying quirk of wearing spectacles that you just have to live with. But fogging is not just frustrating. In the right circumstances, it is genuinely dangerous. Consider driving. You are moving at speed and your lenses fog over as you transition from a warm vehicle interior to cold outside air, or vice versa. For the few seconds it takes the fog to clear, you cannot see the road. That is not an inconvenience. That is a hazard. The same applies to anyone who works in an environment where sudden temperature changes are common, construction workers moving between heated interiors and cold outdoor sites, kitchen staff moving between different temperature zones, healthcare workers whose masks cause persistent fogging during long shifts, cyclists and motorcyclists whose exertion creates a constant source of warm, moist air rising toward their lenses. Why Fogging Happens on Glass Lenses? Understanding why fogging happens is the first step to understanding why anti-fog spray for glasses works so well when used correctly. The science is straightforward. Fogging is condensation. It happens when warm, moisture-laden air meets a surface that is cooler than the dew point of that air. The water vapour in the air loses energy when it contacts the cool lens surface and converts from a gas into tiny liquid droplets. Those droplets scatter light in all directions, which is what creates the white, opaque appearance we know as fog. The lens itself has not changed. You are simply looking through thousands of microscopic water droplets instead of through clear glass or plastic. The traditional response to this is to wait, or to wipe, which clears the fog temporarily but does nothing to prevent it from returning the moment conditions change again. An anti-fog lens cleaner takes a completely different approach. Rather than dealing with the fog after it forms, it changes the surface properties of the lens so that fog cannot form in the same way at all. How Anti-Fog Solutions Actually Work? To understand why anti-fog products are effective, you need to understand something about the nature of water droplets on surfaces. When water lands on a standard lens surface, it beads. The surface tension of the water and the relatively low surface energy of the lens material combine to form discrete, separate droplets that sit on the surface rather than spreading out. These beaded droplets are exactly what scatters light and creates the fogging effect. Each tiny droplet acts like a miniature lens itself, refracting light in a direction different from its neighbours, and the cumulative effect of thousands of these droplets is complete visual disruption. An anti-fog lens cleaner works by creating what scientists call a hydrophilic layer on the surface of the lens. Hydrophilic means water-attracting, which sounds counterintuitive when you are trying to solve a fogging problem. But the key is what happens to water droplets on a hydrophilic surface versus a standard one. On a hydrophilic surface, water does not bead. Instead, it spreads into an extremely thin, uniform film. That film is transparent. Light passes through it cleanly in the same direction it would pass through the dry lens, because the film is even enough that it does not scatter light the way beaded droplets do. You still have moisture on your lens surface, but it is spread so thinly and evenly that it is optically invisible. This is the fundamental mechanism of every anti-fog spray for glasses on the market. The active compounds in the formula bond to the lens surface and reduce its surface energy in a way that prevents water from beading. Some formulas achieve this with surfactant compounds. Others use polymer-based coatings that create a more durable hydrophilic layer. The best products combine both approaches for immediate effect and longer-lasting protection. Anti-Fog Spray Versus Anti-Fog Wipes: What is the Difference? Both formats deliver the same active chemistry to the lens surface. The difference is in convenience and application control. An anti-fog spray for glasses gives you more control over how much product you apply and where it goes. You can apply it to both sides of the lens precisely and adjust the amount based on the lens size and shape. A spray bottle also tends to last longer and is more economical for regular use at home or at a desk. Anti-fog wipes are pre-moistened with a calibrated amount of solution and are sealed individually, which makes them ideal for carrying in a bag, pocket, or car. They are ready to use without any preparation and there is no risk of over-applying because the amount in each wipe is already measured. For people who need to reapply during the day while away from home, wipes offer a level of convenience that a spray bottle cannot match. The Rinsol Anti-Fog Spray from Gaymed Labs is designed for both regular home use and on-the-go application. Formulated to be safe across all coating types including anti-reflective, blue-cut, and UV-treated lenses, it delivers the hydrophilic surface treatment that prevents condensation fogging in temperature-changing environments. For people who want the same protection in a portable format, pairing it with Rinsol Lens Wipes gives you coverage in any situation. Step-by-Step Application: Getting It Right Every Time The effectiveness of an anti-fog lens cleaner depends almost entirely on how it is applied. An excellent product applied incorrectly will underperform. The steps below are the correct sequence and the reasoning behind each one matters as much as the steps themselves. Step
Choosing the Right Display Cleaner for Every Screen

All Screens Are Not Created Equal Walk into any home in 2026 and you will find screens everywhere. A large 4K TV mounted on the living room wall. A gaming monitor on the desk. A tablet on the coffee table. A phone on the kitchen counter. Screens have become the primary interface through which we work, learn, communicate, and entertain ourselves, and most households now have four or five of them running on any given day. Here is the problem. Most people clean all of those screens the same way. They grab whatever is nearby, a glass cleaner, a paper towel, a damp cloth, sometimes just a dry shirt, and they wipe. The screen looks cleaner than it did before, so the assumption is that the job is done and done correctly. But screens are not interchangeable surfaces. A 4K OLED television panel, a matte gaming monitor, and a tablet touchscreen are three fundamentally different pieces of display technology, and they differ not just in size or resolution but in the materials they are made from, the coatings applied to their surfaces, and the way those coatings respond to different cleaning agents. What works safely on one can cause permanent damage to another. This is the core problem with one-size-fits-all cleaning. Glass cleaner formulated for windows contains compounds that are perfectly harmless on thick household glass but deeply damaging to the anti-reflective coatings on a high-end monitor. A cloth that is rough enough to leave lint on a TV screen can scratch the oleophobic coating on a tablet. Even water, the most benign liquid imaginable, can leave permanent mineral deposits on display surfaces when it contains dissolved calcium and magnesium from the tap. The right display cleaner for each screen type is not a marketing concept. It is a genuine technical distinction that exists because the surfaces themselves are genuinely different. Understanding those differences is what this guide is about. What Each Display Actually Needs? OLED and 4K TVs: The Most Rewarding and Most Unforgiving Screens to Clean A modern OLED or 4K LED television is arguably the most visually impressive display you can own, and also one of the most demanding when it comes to cleaning. The panels in premium televisions are engineered to extraordinary tolerances. Individual pixel-level light control, near-perfect black levels, and colour accuracy measured in fractions of a percentage point. All of that performance depends on the integrity of the panel surface, and that surface is far more delicate than it looks from across the room. OLED panels in particular are covered in ultra-thin optical coatings that reduce reflections and protect the emissive organic layer beneath. These coatings are sensitive to both mechanical abrasion and chemical exposure. Pressing too hard while wiping can create pressure marks. Using the wrong cleaner can leave a residue that interferes with the anti-reflective properties of the coating, making your screen look permanently hazy in bright light. The other issue with large television screens is the temptation to use more liquid because the surface area is greater. This is exactly the wrong instinct. A large screen needs the same light touch as a small one, just applied more methodically across a larger area. Excess moisture running down the face of a television panel and pooling at the bezel edge is a genuine risk, and on an OLED TV where the panel itself contains organic compounds, moisture infiltration can cause visible damage that is irreversible. What OLED and 4K TVs need is a residue-free display cleaner applied sparingly to a clean microfiber cloth, used in gentle, straight strokes from one side of the panel to the other. The formula needs to be free of ammonia, alcohol at high concentrations, bleach, and any surfactants that leave a film behind after evaporation. The goal is a perfectly clean surface with no chemical residue that could interfere with the panel’s optical properties. One thing worth noting about television cleaning specifically. Because TVs are typically mounted or positioned at eye level and viewed from a distance, minor streaking or residue that you might not notice on a small screen becomes very visible on a 55-inch or 65-inch panel when light hits it at an angle. Getting a streak-free finish on a large TV requires both the right screen cleaner spray and a methodical approach, working in overlapping sections rather than attempting to cover the whole panel in a single pass. Gaming Monitors: The Matte Finish Problem Gaming monitors present a cleaning challenge that is different in character from television screens. Many gaming monitors, particularly those in the mid-range and high-end categories, use a matte anti-glare finish on the panel surface rather than a glossy coating. This finish is applied specifically to scatter reflected light and reduce glare from room lighting and windows, which improves visibility during long gaming sessions. The problem is that matte finishes are particularly vulnerable to one very specific and very common cleaning mistake. Using too much liquid, or using a cleaner that leaves any kind of residue, creates shiny spots on a matte surface. These spots are areas where the fine texture of the matte coating has been partially smoothed out or filled in by cleaning product residue. They appear as small glossy patches that scatter light differently from the surrounding matte surface, and they are essentially impossible to remove once they form. This is the answer to a question many gamers search for. Why does my screen cleaner spray leave a cloudy or shiny film on my gaming monitor? In almost every case, the answer is one of three things. Either the product contains a compound that leaves residue on matte surfaces, or too much product was used and not fully removed, or the wiping technique introduced the residue unevenly. Circular wiping motions, which are fine for some surfaces, can concentrate product in certain areas on a matte finish and create exactly this kind of uneven appearance. For matte gaming monitors, the approach needs to be minimal and precise. A
Why Every Remote Worker Needs a Laptop Cleaning Kit in 2026
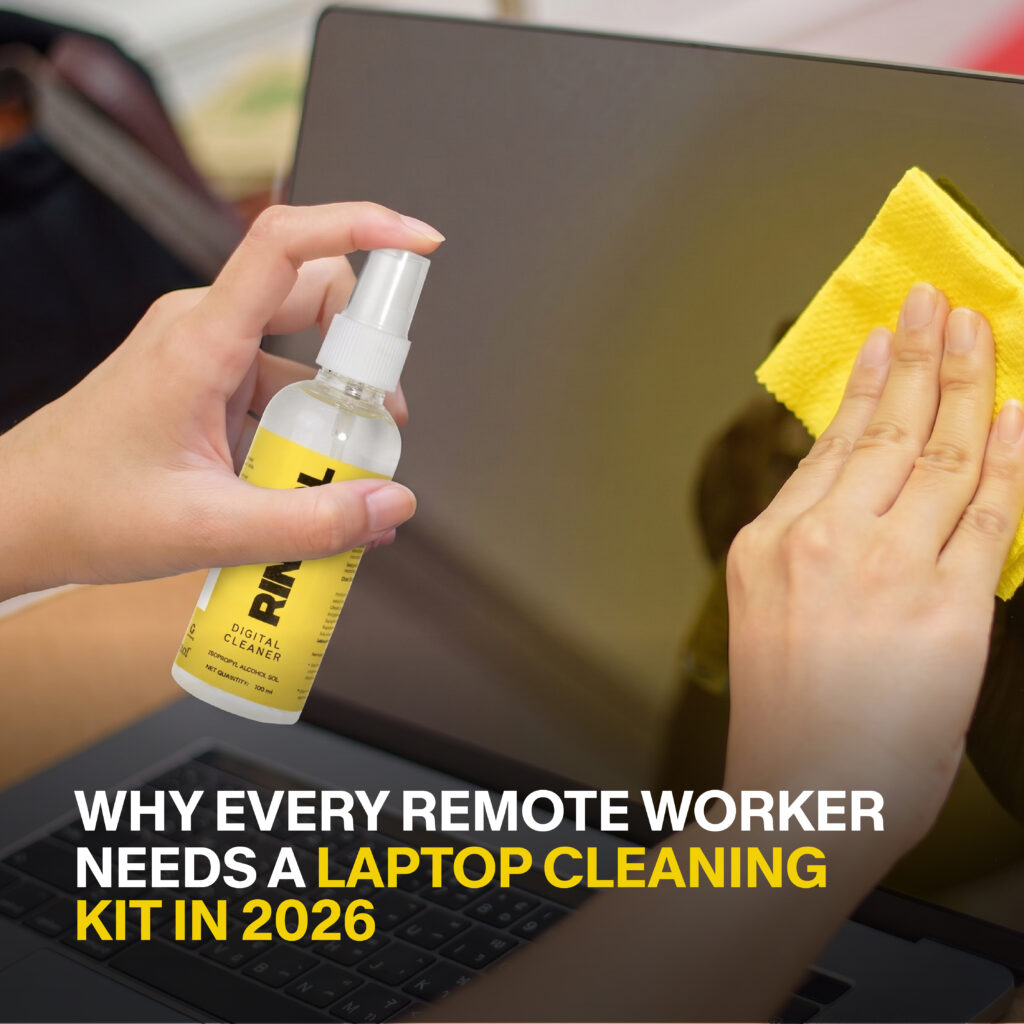
The Dirt You Cannot See Is the Dirt That Hurts Most There is something oddly reassuring about a laptop that looks clean. The screen is smudge-free, the keyboard looks tidy, and the chassis has no visible grime. So you assume everything is fine and carry on. But here is the thing about laptop hygiene in 2026. The most damaging buildup is rarely the kind you can see at a glance. It is the invisible layer of skin oils transferred from your fingertips to the keys over hundreds of typing sessions. It is the microscopic crumbs that fell between the keycaps six months ago and have been sitting in the warm, dark space beneath them ever since. It is the dust that has been accumulating in your ventilation grilles since you first unboxed the machine, slowly compressing into a fine felt-like mat that your cooling fan now has to push air through with increasing effort. Remote work has fundamentally changed the relationship most people have with their laptops. For the office-going professional of a decade ago, a laptop was one tool among many, used for a few hours a day and put away. For the remote worker of 2026, the laptop is the office. It sits on your desk for eight to twelve hours a day. It travels to the kitchen, the couch, the coffee shop. It gets used during meals, late at night, early in the morning. Some people share devices with a partner or a child. Others use their personal machine exclusively but use it constantly. All of that usage adds up. And without a structured cleaning routine and the right laptop cleaning kit, what adds up is not just dirt. It is hardware degradation, reduced performance, bacterial contamination, and eventually, an expensive repair or replacement. This blog is about why remote workers specifically need to take device maintenance seriously in 2026 and what a proper cleaning routine actually looks like. The Invisible Problem: What Is Actually Living on Your Laptop Before we get into solutions, let us spend a moment understanding the problem in a bit more detail, because most people genuinely underestimate how much accumulates on a frequently used device. Your fingertips are coated in natural oils that transfer to every surface they touch. Every key press deposits a tiny amount of this oil onto the keycap. Over days and weeks, this builds into a visible sheen that makes your keyboard look slightly greasy. Over months, it darkens the most frequently used keys and creates a sticky resistance that changes how typing feels. Studies on shared office equipment have found bacteria counts on laptop keyboards that rival or exceed those found on bathroom surfaces. That finding is uncomfortable but it makes sense when you think about it. Keyboards are warm, rarely cleaned, and touched constantly by hands that have been everywhere. For remote workers who eat at their desks, the problem is compounded by food particles that settle between and beneath the keys, providing an additional food source for microbial growth. Then there is the thermal problem. Your laptop’s cooling system is designed to draw air in through intake vents, usually on the bottom or sides of the chassis, run it across the internal components, and exhaust the heated air out through a separate vent. This system works beautifully when the vents are clear. But dust accumulates at the intake grilles with every hour of use. Over time, that dust gets pulled partially into the machine and settles on the fan blades, the heatsink fins, and the internal surfaces. The fan has to spin faster to move the same amount of air. Temperatures rise. The processor throttles its performance to manage heat. Your laptop gets louder, slower, and hotter, and you might not even connect those symptoms to the dust that’s been quietly building up for the past year. A proper laptop cleaning kit addresses all of these problems systematically. What Is Inside a Complete Laptop Cleaning Kit Not all cleaning kits are created equal. The best ones are assembled around a clear understanding of the different surfaces and systems that need attention on a modern laptop. Here is what a comprehensive kit should include and what each component does. The Display Cleaner: Your Screen Deserves More Than a Cloth The screen is the part of your laptop you look at for every single minute of use. It is also one of the most delicate surfaces on the device. Modern laptop displays, whether IPS, OLED, or standard LED panels, are coated with anti-glare and oleophobic layers that repel fingerprints and reduce reflections. These coatings are sensitive to harsh chemicals and abrasive materials. A dedicated screen cleaner spray is the only appropriate cleaning agent for a laptop display. It should be applied to a microfiber cloth first, never directly to the screen, and used in light, straight strokes across the panel. The formula needs to be free of ammonia, bleach, and high-concentration alcohols, all of which degrade display coatings over time through a process called delamination, where the coating literally begins to peel away from the panel. The Rinsol Digital Screen Cleaner from Gaymed Labs is formulated specifically for this purpose. It works across all display types including touchscreens and high-resolution Retina panels, leaves no streaks or residue, and is gentle enough for daily use without any risk to your screen’s protective coatings. If you prefer something more portable, the Rinsol Lens Wipes Plus for digital screens delivers the same cleaning performance in a pre-moistened, individually packed wipe format that you can keep in your laptop bag without any risk of leakage. The Microfiber Cloths: Not All Cloths Are Equal A good laptop cleaning kit should include at least two microfiber cloths, one designated for the screen and one for the body and keyboard. Keeping them separate matters because the cloth you use on the keyboard will pick up oils and particles that you absolutely do not want transferring to your display. Microfiber cloths work
The Professional Guide to Cleaning Your Laptop Screen Without Damage
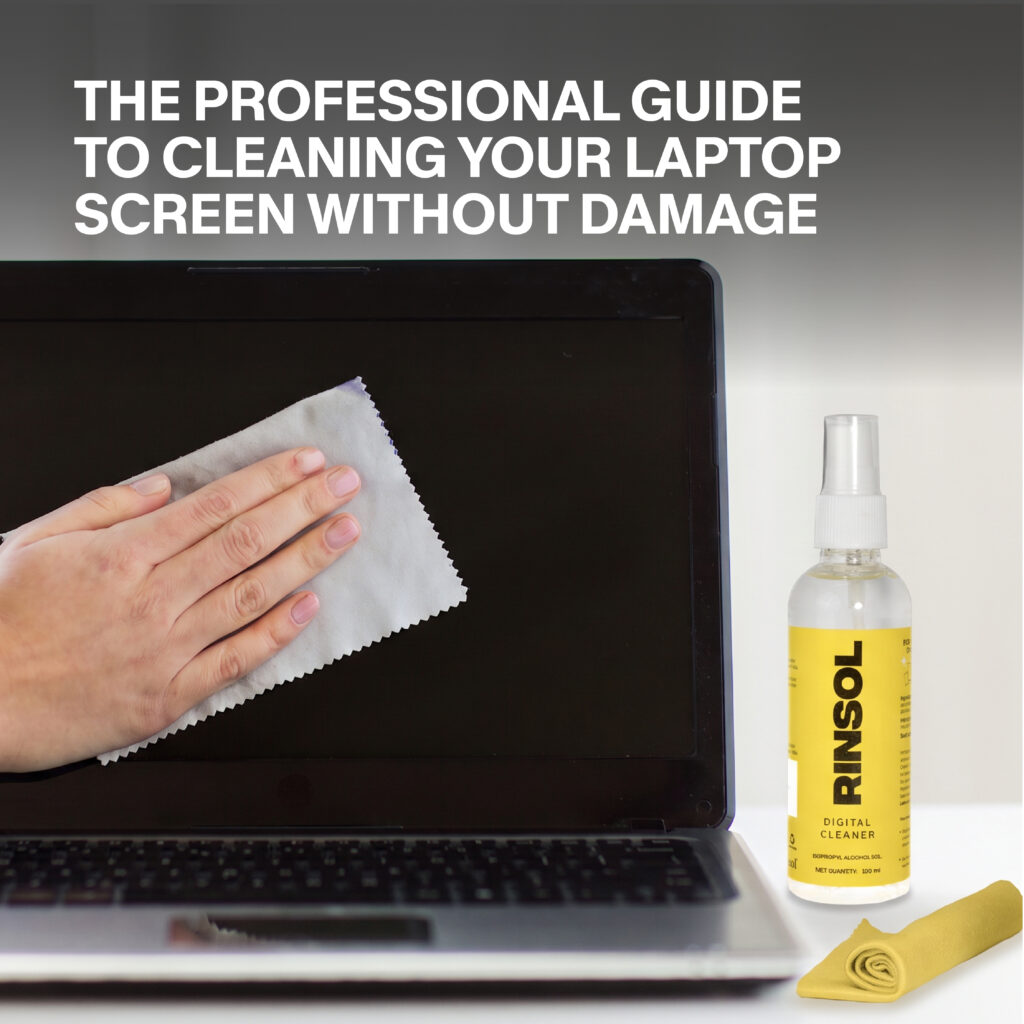
Your Laptop Screen Is More Fragile Than You Think Most people treat their laptop screen the same way they treat a window pane. If it’s dirty, grab something nearby and wipe it down. An old t-shirt, a paper towel, maybe a spritz of whatever cleaning spray is on the desk. Job done, right? Not quite. Modern laptop screens, whether LED, IPS, or OLED, are nothing like the glass windows in your home. They’re precision-engineered display panels covered in multiple ultra-thin coatings that serve very specific purposes. There’s an anti-glare layer to reduce reflections. An oleophobic coating to repel fingerprints and oils. On touchscreen laptops, there’s an additional layer designed to respond accurately to touch input. On high-end OLED panels, the coatings are even more refined and correspondingly more delicate. Here’s a word you need to know before we go any further. Delamination. It sounds technical, but the concept is simple and alarming. Delamination is what happens when the protective coating on your laptop screen starts to peel away from the panel beneath it. It usually begins as a small patch of haziness or discolouration near a corner or edge. Then it spreads. And once it starts, there is no fixing it short of replacing the entire display, which on a modern laptop can cost anywhere from eight thousand to thirty thousand rupees or more depending on the model. What causes delamination? In the vast majority of cases, it’s improper cleaning. Harsh chemicals, abrasive materials, or even just moisture applied directly to the screen surface in the wrong way. The coating doesn’t dissolve all at once. It degrades slowly, invisibly, until one day the damage crosses a threshold and becomes visible. By that point, the harm has already been done over dozens of cleaning sessions. This is why a dedicated screen cleaner spray and the right technique aren’t optional extras for the particularly careful. They’re the baseline for anyone who wants their laptop screen to look good and function properly for the life of the device. The Safe Cleaning Method: Step by Step There’s a right way to clean a laptop screen and it’s not complicated once you know it. The steps below are what professional technicians and display care specialists recommend, and they apply whether you’re cleaning a basic office laptop, a MacBook Pro, or a high-end gaming display. Step 1: Power Down and Let the Screen Cool Before you touch your screen with anything, shut your laptop down completely. Not sleep mode. Not screensaver. Fully powered off. There are two reasons for this. First, a dark screen shows smudges, streaks, and dust far more clearly than an illuminated one. If you try to clean while the screen is on, you’ll miss spots and you’ll also be unable to judge whether you’ve achieved a streak-free finish. Second, a screen that has been running generates heat, and applying any moisture to a warm display surface increases the risk of that moisture seeping into gaps around the panel edges. Give it five to ten minutes after powering off before you begin. It’s a small wait that protects a significant investment. Step 2: Dry Dusting to Remove Loose Particles This step is the one most people skip and it’s the one that causes the most damage. Take a clean, dry microfiber cloth and very gently pass it across the screen surface to pick up any loose dust, hair, or debris. Use almost no pressure. You’re not wiping anything away at this stage. You’re just lifting particles off the surface so they don’t get dragged across the coating when you do the actual cleaning. Think of what happens if you skip this step. You spray your screen cleaner spray onto the cloth, press it against the screen, and start wiping. Any grit or dust on that surface is now being pushed across a delicate coating under pressure. Even a single grain of dust can leave a fine scratch under those conditions. The dry dusting step costs you about 20 seconds and it’s the single most effective thing you can do to prevent scratching during the cleaning process. Make sure the microfiber cloth you use is clean and lint-free. A cloth that’s been used to wipe down other surfaces, especially anything greasy or abrasive, should not be used on your screen. Step 3: Apply Your Screen Cleaner Spray to the Cloth, Never the Screen This is the rule that most people get wrong, and the consequences of getting it wrong can be severe. Never spray any liquid directly onto your laptop screen. Even a dedicated display cleaner should always be applied to the cloth first. When you spray directly onto the screen, you have no control over how much liquid lands on the surface or where it goes. Excess moisture can run down the face of the panel and seep into the bezel, where it reaches the edges of the display and begins working its way behind the screen. Over time, this causes water damage to the panel, the backlight, and in some cases the motherboard components that sit directly behind the screen. Spray two to three pumps of your screen cleaner spray onto the microfiber cloth. The cloth should be lightly damp, not wet. If you press the cloth against your palm and it leaves a wet mark, it’s too saturated. Give it a moment and let some of the moisture evaporate before using it. The Rinsol Digital Screen Cleaner from Gaymed Labs is formulated specifically for this kind of application. It’s designed to be used on laptop screens, monitors, tablets, and mobile displays without leaving residue or affecting the sensitive coatings that modern panels depend on. For added convenience, the Rinsol Lens Wipes Plus for digital screens offers the same cleaning performance in a pre-moistened, individually packed wipe format, which is particularly useful if you’re cleaning on the go or at a desk without access to a spray bottle. Step 4: Wipe With Light, Controlled Strokes Now comes the actual cleaning.
Lens Cleaning Solution vs DIY: Which Is Safer?
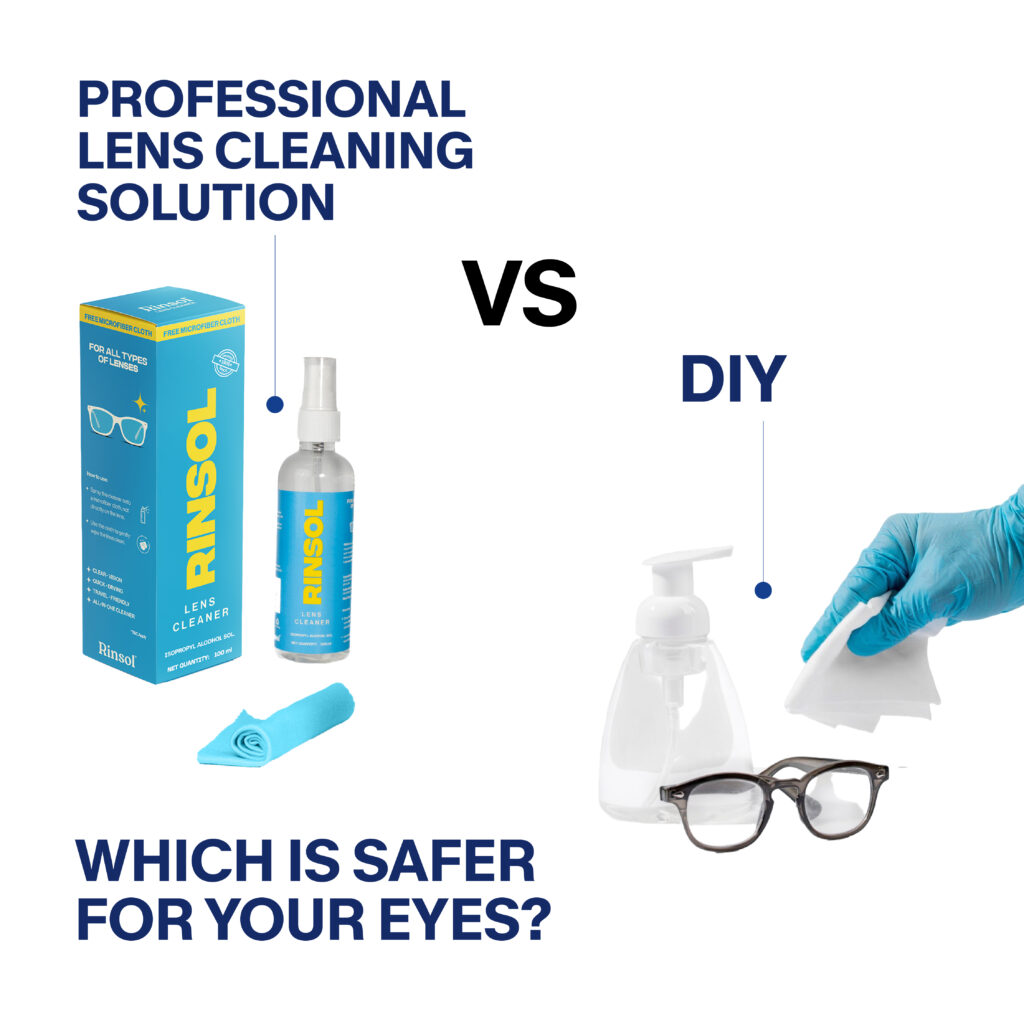
That Bottle of Windex Is Not Your Friend There’s a moment most glasses wearers know well. You’re in the kitchen, your lenses are smudged beyond tolerance, and your glasses cleaner spray is sitting in the other room. Your eyes land on the dish soap by the sink. Or the Windex on the counter. Or the hand sanitiser in your pocket. And you think, just this once, it’ll be fine. It won’t be fine. This is one of the most common habits in the glasses-wearing world and it’s also one of the most quietly damaging ones. The problem isn’t that these household products don’t clean. Some of them clean extremely well. The problem is that they’re not designed to clean optical lenses. And that distinction matters far more than most people realise. Specialised lens cleaning solution exists for a very specific reason. Prescription lenses are not ordinary glass. They’re precision-engineered optical surfaces with multiple delicate coatings layered on top of each other, coatings that took decades of research to develop and that can be undone in seconds by the wrong chemical. The moment you introduce a product that wasn’t formulated with those coatings in mind, you’re taking a gamble with something you rely on every single waking hour of your day. So let’s settle this debate properly. Professional lens cleaning solution versus DIY home remedies. Which is actually safer for your eyes and your lenses? The answer is more clear-cut than you might expect. Why Professional Solutions Win Let’s start with what a proper glasses cleaner spray actually does and why it’s worth the small investment over reaching for whatever’s nearby. Coating Protection: Built for What’s on Your Lens Modern prescription lenses aren’t a single material. They’re a base lens, usually polycarbonate, trivex, or high-index plastic, with anywhere from two to six separate coatings applied in ultra-thin layers. Anti-reflective coating. Blue-light filter. UV protection. Scratch-resistant layer. Hydrophobic coating. Each one serves a purpose and each one is vulnerable in its own way. A professional lens cleaning solution is specifically formulated to be safe for all of these surfaces simultaneously. The surfactants used are mild enough to lift oils and debris without interacting chemically with any coating. This means your AR coating stays crisp, your blue-light filter doesn’t degrade, and your UV protection remains fully intact, clean after clean, day after day. DIY alternatives don’t offer this guarantee. In fact, most of them offer the opposite. Dish soap often contains degreasers and fragrances that are far too aggressive for coated optics. Even a tiny residue left behind after rinsing can slowly degrade the hydrophobic layer that keeps water and oils from sticking. You might not notice it for weeks or months, but you will notice it eventually when your lenses start looking perpetually greasy no matter how often you clean them. pH Balance: The Science Behind Crazing Here’s a term most glasses wearers have never heard but absolutely should know. Crazing. It refers to a network of fine micro-cracks that develop across the surface of a lens coating, giving it a crinkled, hazy appearance that looks almost like a spider web under light. Once crazing sets in, there’s no fixing it. The lens needs to be replaced. What causes crazing? In most cases, it comes down to pH. Optical lens coatings, particularly anti-reflective coatings, are sensitive to both highly acidic and highly alkaline substances. A professional spectacle lens cleaner is pH-balanced, meaning it sits in the neutral zone that’s safe for lens materials and coatings across the board. Many household cleaners are not pH-balanced for optics. Windex is mildly alkaline. Vinegar, a popular DIY recommendation, is acidic. Even some brands of dish soap sit at pH levels that, with repeated exposure, put coated lenses at real risk of crazing. The damage is cumulative and invisible until it’s too late. This is one of the most compelling reasons to use a proper glasses cleaner spray consistently. You’re not just cleaning your lenses. You’re maintaining the chemical stability of the coatings that make your prescription lenses worth what you paid for them. Anti-Fog Properties: A Bonus You Didn’t Know You Needed Many professional-grade spectacle lens cleaners leave behind a very light anti-fog residue that reduces the tendency of lenses to fog up in humid conditions, when moving between temperature extremes, or when wearing a mask. This isn’t a gimmick. Anti-fog agents work by reducing the surface tension of water droplets on the lens, causing them to spread into a thin, transparent film rather than forming the opaque droplets that create fogging. For anyone who regularly moves between air-conditioned spaces and the outdoors, exercises with glasses on, or wears a mask for work, this benefit alone is worth making the switch to a quality lens cleaning solution. Gaymed Labs also offers the Rinsol Anti-Fog Spray as a dedicated product for people who deal with persistent fogging, particularly useful in monsoon weather, cold mornings, or long mask-wearing hours. The Risks of Household Cleaning Now let’s talk about what’s actually happening when you reach for that DIY shortcut, because the damage is real, it’s measurable, and it’s almost always permanent. Harsh Chemicals Strip Your UV Protection UV protection in prescription lenses isn’t a coating you can see or feel. It’s embedded either in the lens material itself or applied as a thin external layer, depending on the manufacturer. Either way, it’s not indestructible. Harsh cleaning agents, ammonia-based products like Windex, acetone, bleach-based cleaners, anything with strong solvents, can break down the molecular bonds that make UV filters effective. This doesn’t happen overnight, but with repeated exposure, the UV-blocking capability of your lenses diminishes. You won’t notice it visually. Your lenses won’t look different. But the protection you’re counting on to shield your eyes from harmful ultraviolet radiation will be quietly, invisibly reduced. Optical professionals regularly encounter patients whose lenses test poorly for UV protection, not because of a manufacturing defect, but because of years of cleaning with inappropriate products. A proper glasses cleaner spray
How to Use Glasses Cleaner Spray for Scratch-Free Vision
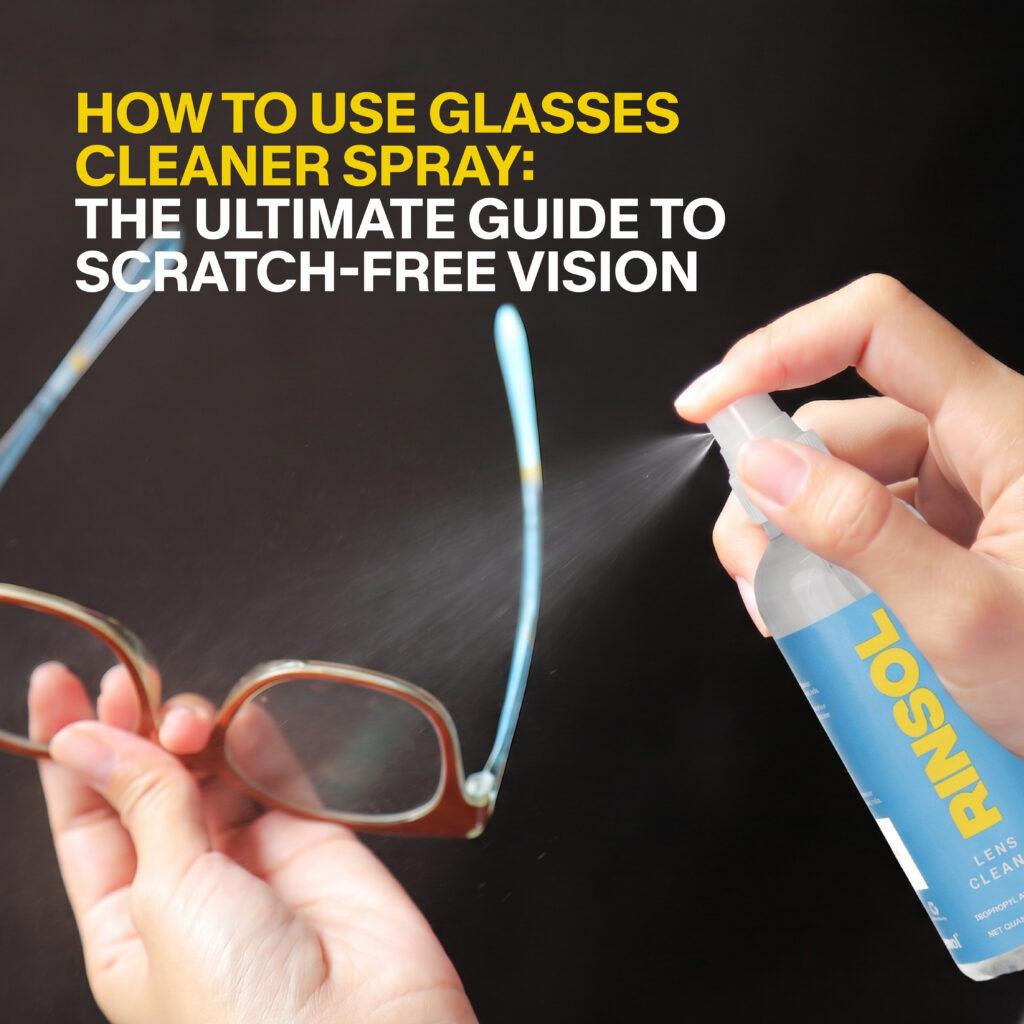
Your Lenses Are Under Attack Every Day Most of us treat our glasses like they’re indestructible. We toss them on the bedside table, wipe them on our shirt when things get blurry, and forget they even need maintenance until we’re squinting through a fog of fingerprints and smudges. Sound familiar? Here’s something that might genuinely surprise you. Every time you wipe your lenses without proper lubrication, you’re essentially using sandpaper on them. Dust, skin oils, and environmental debris sitting on the surface of your lens act as tiny abrasive particles. The moment you run a dry cloth across them, those particles drag across the coating and leave behind micro-scratches. Over time, those small scratches accumulate, and what was once a clear window to the world starts looking like frosted glass. And let’s talk money for a second. A quality pair of prescription lenses can cost anywhere from a few thousand rupees to well over ten thousand, sometimes even more if you’ve opted for anti-reflective, photochromic, or blue-light blocking coatings. Replacing those lenses because of avoidable scratches is a painful and completely unnecessary expense. The irony is that the solution costs next to nothing. A good glasses cleaner spray used correctly takes less than 30 seconds. That’s all it takes to protect an investment you wear on your face every single day. This guide is going to walk you through the right way to clean your glasses, not the lazy way, not the good enough way, but the method that actually preserves your lenses and keeps your vision crisp for years. The Perfect Spray Technique: Step by Step A lot of people think cleaning glasses is self-explanatory. Spray, wipe, done. But there’s actually a specific sequence that makes a real difference. Skipping even one step can leave residue, cause streaking, or worse, create the micro-abrasions we just talked about. Here’s the correct process. Step 1: Prep — Remove Loose Particles First Before you reach for your spectacle lens cleaner, take a moment to prep your lenses. This step is the one most people skip and it’s arguably the most important. Gently blow across both sides of the lens to dislodge any loose dust or debris. Alternatively, give the lenses a quick rinse under lukewarm water. You’re not washing them yet. You’re just clearing the surface so that when you do apply your lens cleaning solution, you’re not dragging dry particles across a delicate coating. Think of it this way. A surgeon doesn’t cut without prepping the area first. You shouldn’t clean without prepping either. This one small habit is what separates people who go through multiple pairs of scratched glasses a year from those who use the same pair comfortably for years on end. Step 2: Spray — Apply Your Glasses Cleaner Spray Evenly Now comes the main event. Hold your glasses by the frame, never the lenses, and apply your glasses cleaner spray to both sides of each lens. Two to three sprays per side is usually enough. You want a light, even coating. Not a soaking wet lens and not a barely-there mist. A proper lens cleaning solution is formulated specifically for optical coatings. It contains gentle surfactants that lift oils and fingerprints off the surface without reacting with anti-reflective coatings, blue-light filters, or UV treatments. This is a critical distinction because not all sprays are equal, and a solution that’s too harsh can cloud or peel specialty coatings over time. Products like Rinsol Lens Cleaner from Gaymed Labs are built with exactly this in mind. The IPA-based formula is gentle enough for all coating types yet effective enough to cut through daily grime in one clean sweep. That balance is harder to achieve than it sounds, and it’s why purpose-built solutions will always outperform whatever’s sitting under your kitchen sink. So to directly answer a question we hear all the time, a high-quality glasses cleaner spray is absolutely safe for anti-reflective and blue-light blocking lenses as long as it’s designed for optical use. Step 3: Buff — The Microfiber Cloth Method This is where technique matters most. Use a clean, dry microfiber cloth, and the emphasis here is on clean. A cloth that’s been sitting at the bottom of your bag for a week, picking up lint and skin oils, is not going to help. Start from the centre of the lens and buff outward in gentle circular motions. Don’t press hard. The lens cleaning solution has already loosened the grime, so your cloth just needs to lift it away. Applying too much pressure forces any remaining particles into the lens surface. Let the solution do the heavy lifting and let the cloth just finish the job. Once both lenses are done, hold your glasses up to a light source and check for streaks. A good spectacle lens cleaner combined with the right technique should leave you with a completely clear, streak-free surface. If you’re still seeing smears, you either used too much solution or your cloth needs a wash. Step 4: Frame Care — Don’t Forget the Details Cleaning your lenses is great. Cleaning your entire glasses is even better. The nose pads on your frames are some of the greasiest, most bacteria-laden spots on any object you use daily. Think about it. They sit directly against your skin for 12 to 16 hours a day. Spray a little of your glasses cleaner spray onto the cloth, not directly onto the frame if it has delicate finishes, and wipe down the nose pads, temples, and the bridge. This removes skin oils and buildup that can cause discolouration, irritation, and even breakouts along the nose and ears. If you’re on the go and don’t have your spray handy, Rinsol Lens Wipes are a genuinely convenient alternative. Pre-moistened, individually packed, and safe for coated lenses, they’re the kind of thing that’s worth keeping in your bag, your car, or your office drawer for those in-between moments. It takes an extra 10 seconds. Make it a habit.